Install Epson Scan and Then Try Again
 The 2018 "feature update" for Windows 10, also known as Update #1803, breaks the Epson Scan Utility software. This affects all compatible devices including Epson's dedicated line of scanners from the V300 to the V600 on up.
When the problem occurs, you'll see a small Epson window flicker in the bottom corner of the screen and sometimes bounce around sporadically. The app locks up and your only recourse is to terminate the software through the Task Manager and then power your device off and on again. This happens most commonly after switching to a different application and then back.
Epson has acknowledged that this problem affects most of their products and they've reportedly escalated the matter. Until a fix becomes available through Epson or Microsoft, the quick fix is to simply run it in administrative mode. Here are the complete steps:
- Download the latest Epson Scan package from Epson's website for your respective device. You can find the correct download by entering the device's model number into the epson.com site and then clicking on the "Support" link. From there, locateScanner Driver and EPSON Scan Utility and click "Download." If a security warning pops up, click "OK" or "Keep" to download the file to your computer.

- Once downloaded, install the program to your computer using the default options. This process will place a new shortcut to the software on your desktop, which will make the next steps a little easier. If asked to restart your computer, please do so.

- Right-click on the Epson Scan shortcut on your desktop and select "Properties."

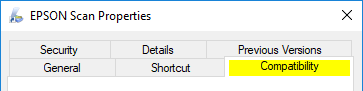
- Click on the "Compatibility" tab.
- Click the button at the bottom labeled: "Change Settings for All Users" and if prompted for confirmation, click "Yes."

- Check the option "Run this program as an administrator."
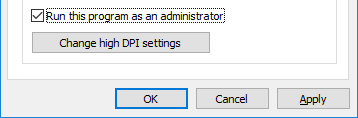
- Click "OK," then "OK" again to close the properties.
You should now be able to launch Epson Scan Utility again and use it without issue. Depending on your user account settings, you may have to click "Yes" if prompted with a security alert.
The first time you launch the application after making these changes, you may also receive a "compatibility alert." Select "Yes, this program worked correctly" to close it.
Addendum - No Icon on Desktop
If you do not have a scan icon on your desktop, you can modify the executable directly. To do this:
- Press WINDOWS KEY + R to open the Run dialog.
- Enter: c:\windows\twain_32\escndv\ then press Enter or click "OK."

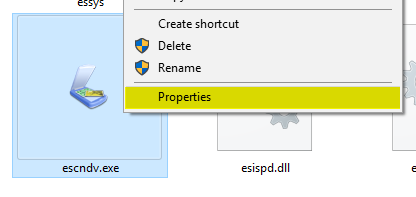
- When the Explorer window appears, right-click on the escndv.exe icon and select Properties. Then you can continue the tutorial as described above.
Addendum - Disable Security Prompt on Launch
 If you have User Account Control enabled, you'll receive a confirmation box each time you launch the app in administrative mode. Although a minor nuisance, there are a couple solutions.
When the alert appears, you can click on "Show More Details" and then "Change when these notifications appear." From there, you can lower the level to the second notch to still receive the alert but without dimming the entire desktop. You can alternatively set the option to "Never Notify" to remove the alert entirely. Be aware that this is a global setting and unless you are an advanced user I don't recommend disabling it, since the alerts can help prevent malware installation.
A more intelligent solution is to use a third party utility or the task scheduler to disable the alert on this application exclusively. Since this can be a somewhat more involved process, I will refer you to an excellent tutorial from Raymond.cc, which thoroughly covers numerous methods of doing so. You'll find the tutorial link below.
Raymond.cc - 4 Ways to Disable User Account Control (UAC) for Specific Software in Windows
Source: https://mattpilz.com/guide-fix-epson-scan-not-responding-windows-10-2018-v300-v600-v700/
0 Response to "Install Epson Scan and Then Try Again"
Post a Comment